Healthy (TRIO)

TRIO
Read before using the strategy.
RequirementYou must do it.You must join Paradoxum Group for an extra starter cash of $100. (Click the text to join the group)For the regular starter cash is $500. With joining the group, the regular starter cash is now $600.
StrategyUnderstand them first.Follow the strategy in order from top to bottom.If a step includes arrows (⮕), it means those actions are part of the same phase and refer to the same instruction type (either Place or Upgrade, etc), but for different towers.Example: “Place 1 Lv 3 Pyro ⮕ 3 Lv 2 Commanders ⮕ 8 Lv 2 RangersPlace 1 Lv 3 PyroPlace 3 Lv 2 CommandersPlace 8 Lv 2 Rangers(That counts as 3 steps total, all under the same “Place” instruction.)Words highlighted in white and underline are important.Place towers where the map placement guides you.1 by 1 means to place/upgrade towers one at a time.Example: “Place 4 Lv 3 Scouts, 1 by 1Place a Scout  Upgrade Scout to Lv 3  then repeat 4 more times(Don’t place another tower till you get the required level)Max means to upgrade towers until you can’t upgrade anymore.
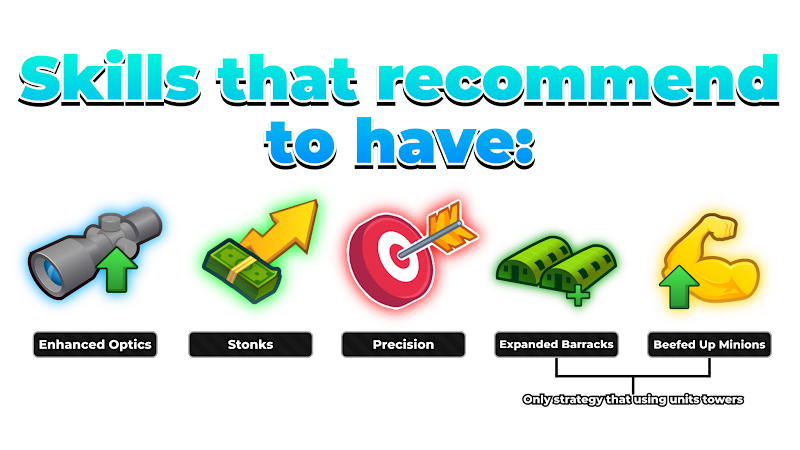
Skill Tree InfosSkill tree that may be needed for a specific trial.Skill Tree InformationsThe Skill Tree is optional, but using it can increase your chances of winning.Notes: All trial strategies are primarily tested without the Skill Tree. However, certain conditions (such as “Solo Quarantine”) may require it.
Trial DifficultyRanking difficulty level of each trial.All Challenge Trials DifficultiesThe higher the difficulty, the less consistent the strategy becomes and the more requirements or accessibility are needed to complete it successfully.
HardMediumExtreme (Solo)ExtremeMediumMediumEasy (Solo)HardExtreme
Very EasyHard (Solo)InsaneHardEasyInsaneEasy-
ExtraMore information.Feel free to use our Private Server here.Challenge Trial is extremely relying on Skill tree. Everything here is tested without a Skill tree, you may have a higher chance to win with a specific Skill tree.Golden Cowboy can be used.Golden Pyro cannot be used.
PlayersTowers
Player 1CowboyPyromancerMerc BaseTurretDJ Booth
Difficulty:Easy - Medium
Player 2CowboyHackerRangerMedicFree Slot
Difficulty:Simple
Player 3CowboyTeslaRangerTurretCommander
Difficulty:Simple
 Player 1Player 1 POV - Watch the Player POV to understand what to do.Difficulty:Easy - Medium
CowboyPyromancerMerc BaseAccel / TurretDJ Booth
ImportantStrategy
Map Placement Place towers where this guide you
NotesImportant InformationsDJ Booth Notes:Waves 11 - 19: Purple TrackWaves 20 - 29: Green TrackWaves 30+ Red Track
StepsFollow them what to doPlace 6 Lv 1 Cowboys ⮕ 1 Lv 3 PyromancerUpgrade all Cowboys to Lv 2Place a Lv 3 DJ Booth (Read Notes)Max the PyromancerUpgrade all Cowboys to Lv 3Max all DJ Booth ⮕ CowboysPlace 3 max Merc Bases ⮕ 3 Turrets
 Player 2Player 2 POV - Watch the Player POV to understand what to do.Difficulty:Simple
CowboyHackerRangerMedicFree Slot
ImportantStrategy
Map Placement Place towers where this guide you
StepsFollow them what to doPlace 6 Lv 1 Cowboys ⮕ 2 Lv 3 HackersMax all Cowboys Hackers [Bottom Path]Place 8 max Rangers ⮕ 5 Medics (Shield on Rangers  DPS)
 Player 3Player 3 POV - Watch the Player POV to understand what to do.Difficulty:Simple
CowboyTeslaRangerTurretCommander
ImportantStrategy
Map Placement Place towers where this guide you
StepsFollow them what to doPlace 6 Lv 1 Cowboys ⮕ 2 Lv 0 Teslas ⮕ 1 Lv 2 CommanderMax all CowboysGet 3 max Commanders in totalPlace 8 max Rangers ⮕ 3 max Turrets
Common IssuesThis is the common thing that you will lose the game.
 General CasesPlace a tower that it’s not supposed to place where map placement guides causing the loss.Not following the steps may cause the loss.Being slow also can cause the loss.You shouldn’t skip any waves.
 Wave 1 - 19Didn’t place more Cowboys.Didn’t place or max PyromancerDidn’t place Teslas.Didn’t place or upgrade Hackers.Didn’t use Commander Ability.Waves 17 and 19 may need it.Didn’t use DJ Booth’s Purple Ability.Read the specific wave and enemies and use the ability on them.
 Wave 20 - 39Didn’t max all CowboysDidn’t place or upgrade Merc Base.Didn’t place or upgrade Rangers.Didn’t place or upgrade Turrets.Didn’t chain Commander Ability.
 Last Wave Wave 40Didn’t chain Commander Ability.Didn’t use Medics to select towers for buffs or consistently use her Ability.Didn’t max everything.Champion Templar has the ability to give himself 100% defense. If you died because of that, it may need RNG to process.Longer Minigunner Phase = Better